The Visual Toolbox - Book Review (Lesson 4-6)
The Visual Toolbox 60 Lessons for Stronger Photographs By: David Duchemin
Chapters 4 - 6
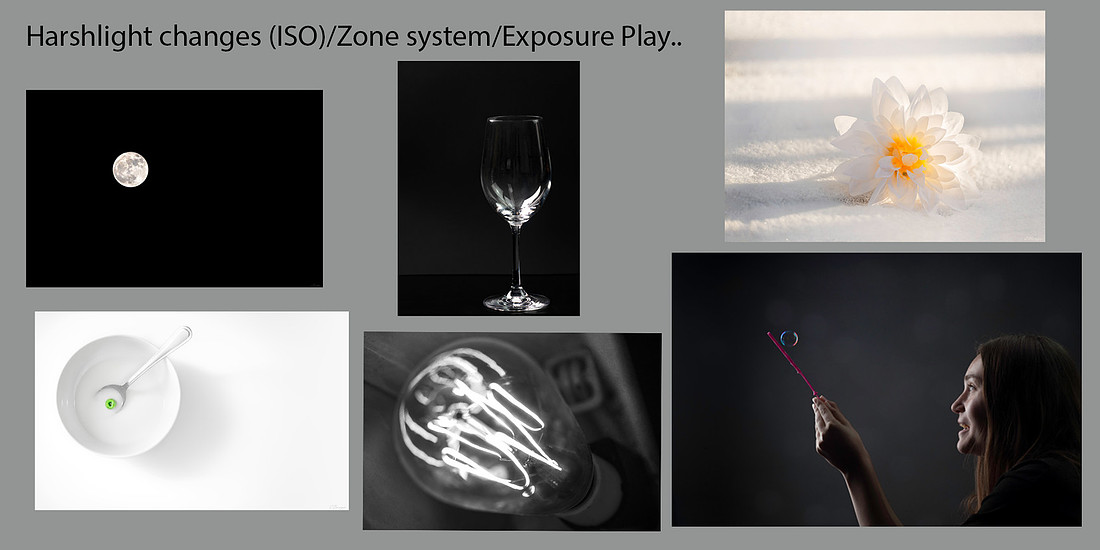
Lesson 4: Exposure: The Zone System
My Take aways:
- What is the Zone System?
The Zone System is a method for measuring the range of tones in your image—from deep blacks to bright whites, with all the subtle shades of grey in between. The more tonal zones represented in your image, the richer its dynamic range. Each zone range is 1 Fstop apart. - Exposing for the Shadows
When you expose for the shadows, your image tends to become high key, meaning the highlights are often overexposed and washed out. - Exposing for the Highlights
On the flip side, exposing for the highlights can result in low key images with deep shadows—often losing detail in those darker areas. - Exposing for Middle Grey (50% Grey)
Metering for mid-grey, or 50% grey, helps capture a broad spectrum of tones, giving your image a balanced and dynamic tonal range. - Using the Zone System to Your Advantage
You can use the Zone System intentionally by taking a meter reading from a subject you want to fall in the mid-tone range (Zone V or 50% grey). From there, you can adjust your exposure triangle based on that reading, allowing the rest of the tones in your image to naturally fall into place across the other zones—according to your creative vision. - Shooting in RAW
Shooting in RAW captures the maximum amount of data from your camera’s sensor, giving you greater flexibility during post-processing. However, RAW files often appear flat or washed out straight out of the camera. By understanding and applying the Zone System, you can achieve more accurate exposures even in average lighting conditions—giving your RAW files a stronger starting point and reducing the need for heavy editing later. - Using Spot Metering for Precision
Switching your camera to spot metering allows you to take a light reading from a specific subject or object—ideally one that reflects 50% grey. From that starting point, you can fine-tune your exposure using the exposure triangle. Learning to use this method builds a solid foundation for understanding how your camera interprets light and helps you make more intentional exposure decisions to get the most out of your scene.
Lesson 5: Exposure: Optimize Your RAW Exposure
My Take aways:
- Why Shoot in RAW?
RAW files are essentially digital negatives—they contain the most image data, giving you greater flexibility in post-processing without quickly degrading the image quality. - Getting the Best Digital File
For the highest quality image, aim to shoot at the lowest ISO your scene allows and learn how to read your histogram. Exposing toward the right side of the histogram (without clipping highlights) helps preserve more detail. - Understanding the Histogram
A histogram is a visual representation of the tones in your image. The left side shows the blacks and shadows, while the right side displays the lights and highlights. If most of your histogram sits on the left, you may be losing important shadow detail. A well-balanced histogram—or one that leans slightly to the right—typically captures more usable data. - Don’t Trust the LCD Alone
The preview on your camera’s LCD screen can be misleading. That’s why checking the histogram is essential—it tells you exactly how your exposure is distributed across the tonal range. - Use “Blinkies” to Watch Your Highlights
Enable the "blinkies" or highlight alert in your camera settings. This feature flashes overexposed areas in your image preview, helping you see where important highlight details might be getting lost. - Expose to the Right—But Carefully
A good rule of thumb is to expose as far to the right of the histogram as possible, without clipping important highlights. This technique helps retain the maximum amount of detail, especially in shadows. - Try Exposure Stacking
Can’t capture all the tones in one shot? Take multiple exposures—one for the shadows, one for the midtones, and one for the highlights—and blend them in post-processing. This technique, called exposure stacking, gives you a beautifully balanced final image. - Other Creative Tools for Exposure
Don't forget about tools like flash or filters. Split neutral density filters, for example, help balance exposures between bright skies and darker landscapes—and they're a lot of fun to experiment with! - Post-Processing Book Recommendation
Want to dive deeper into refining your images? Check out Vision & Voice: Refining Your Vision in Adobe Photoshop Lightroom.
Lesson 6: Master the Triangle
My Take aways:
- The Exposure Triangle: A Creative Tool
The adjustments you make within the exposure triangle don’t just control light—they also shape the overall aesthetic and mood of your image. - What Makes Up the Exposure Triangle?
The exposure triangle is made up of three key settings: ISO, shutter speed, and aperture. Each one affects both the exposure and the creative look of your photo. - ISO – Sensitivity to Light
ISO controls how sensitive your camera’s sensor is to light. A lower ISO (like 100) results in cleaner images with less noise, while a higher ISO (like 3200 or more) makes the sensor more sensitive, allowing you to shoot in low light—but with more digital grain or noise. - Shutter Speed – Capturing Motion
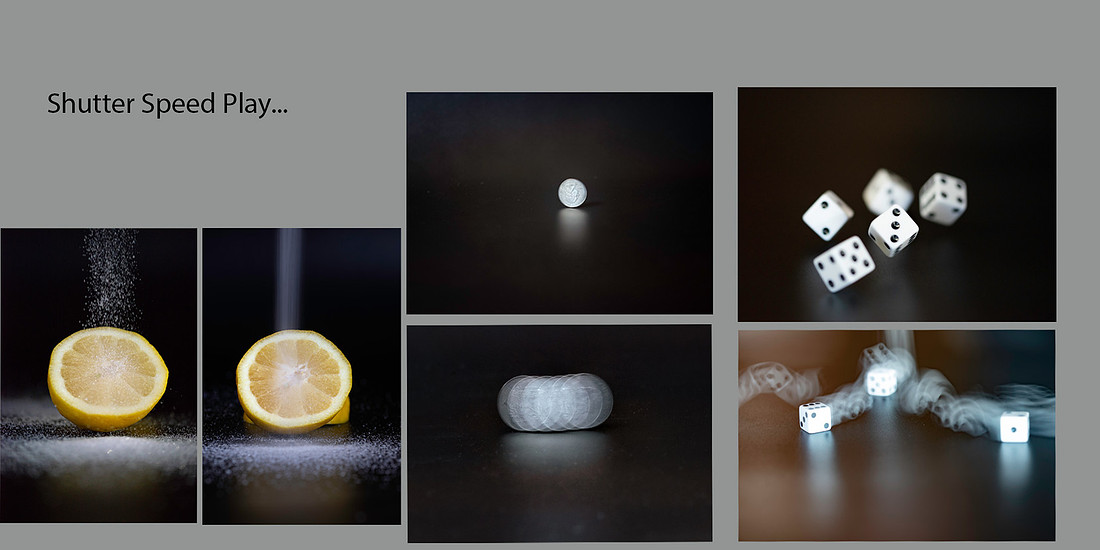
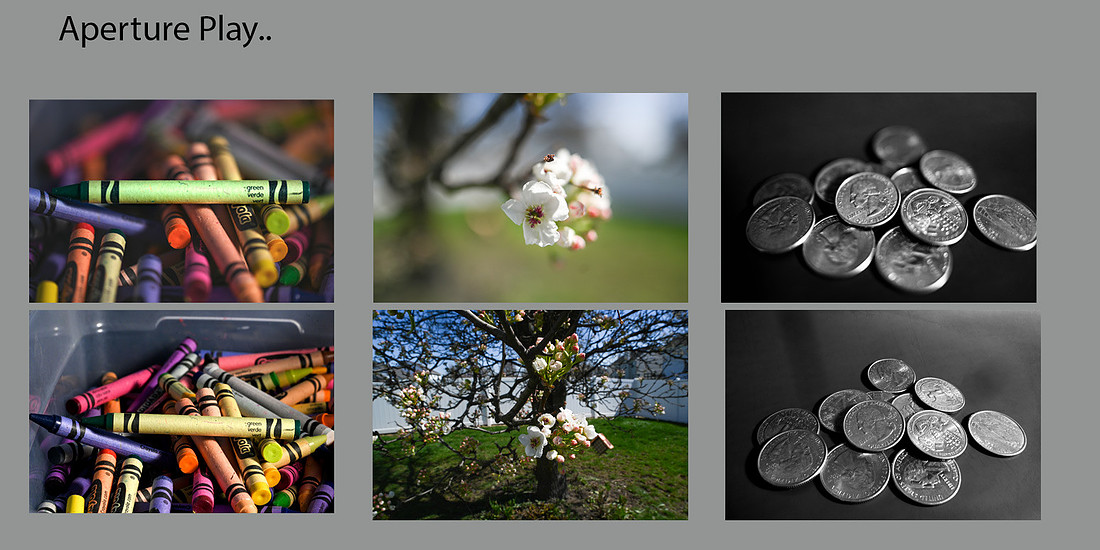
Shutter speed determines how long your camera's sensor is exposed to light. A fast shutter speed (like 1/1000) freezes motion—great for action shots. A slow shutter speed (like 1/15) captures motion blur, perfect for conveying movement or creating a dreamy effect. - Aperture – Depth of Field Control
Aperture affects how much of your image is in focus. A wide aperture (like f/1.4) creates a shallow depth of field, making backgrounds beautifully blurred—ideal for portraits. A narrow aperture (like f/22) keeps more of the scene in focus, great for landscapes and detailed shots. - Balancing the Triangle
These three settings work together to create a well-exposed image. If you change one, you’ll often need to adjust the others to maintain proper exposure. It’s a constant balancing act—but one that gives you full creative control.
Fun facts from my time learning photography:
During my undergraduate studies, I had the opportunity to take a formal photography class, and one of my favorite parts was learning the exposure triangle—one element at a time. We were assigned to capture 10 images focused solely on shutter speed, experimenting with both freezing motion and using motion blur in a creative, intentional way.
Next, we dove into aperture, creating images that highlighted both shallow and deep depth of field. It was such a great exercise in really seeing how focus and background separation can shape a photo’s mood and storytelling.
Finally, we tackled ISO—and that meant stepping into everything from beautifully lit scenes to truly awful lighting conditions. It pushed us to understand how ISO affects image quality and to get comfortable making adjustments on the fly.
Honestly, this hands-on approach was the best way for me to fully grasp how each piece of the exposure triangle works. If you're struggling to understand exposure, I highly recommend trying this method yourself. Not only was it incredibly helpful—it was also so much fun! I ended up with a lot of creative, unexpected images along the way 😊
💬 Discussion Prompts:
Q1. How do you dial in exposure for an image? Do you use zone system, do you use the histogram?
My approach to dialing in exposure really depends on the lighting conditions and the story I want to tell with the image. I always begin by evaluating the available light.
If I’m shooting in natural daylight, I usually start with a low ISO—somewhere in the 100 range. If I’m indoors with natural light and it’s a bit dimmer, I’ll bump the ISO slightly. For night photography or low-light outdoor scenes, I’ll raise it even more. ISO is always my starting point, and once I’ve set it, I typically leave it alone for the rest of the shoot—unless I’m photographing over a long stretch of changing light, like from dusk till dawn. 😉
Next, I consider what’s most important for the shot: Do I want to isolate the subject with a blurred background? Or capture more of the scene in focus? Am I trying to freeze action or show motion? These questions guide my decision on which setting to adjust next.
I’ll then take a closer look at my subject(s). Am I photographing a single person or object? A group of people? Are they lined up, scattered, or layered? If I want to isolate one subject or create a creamy bokeh, I’ll use a wide aperture (low f-stop). If I want more of the scene in focus, like with landscapes or group shots, I’ll close down the aperture with a higher f-stop.
Shutter speed is usually the last setting I adjust—mostly because I tend to shoot macro subjects or portraits where motion isn’t always a major factor. That said, when I do photograph things like water droplets, waves, or anything with movement, I pay closer attention to it.
At that point, I ask myself: Do I want to freeze the action for sharp detail? Or show a sense of motion for a more artistic effect? For softness and motion blur—like waves gently rolling in—I’ll slow the shutter speed. For crisp, frozen motion—like a droplet mid-air—I’ll speed it up.
It’s a bit of a dance between creativity and technical choices, but I started recognizing how each setting influences the final image, it became second nature—and a lot of fun!
Q2. Do you have a go-to vertex in the exposure triangle, which you always set first?
Yes, as I mentioned earlier, I usually start by evaluating the lighting situation and setting my ISO accordingly. From there, I adjust my aperture, followed by shutter speed—though that order can shift depending on the scene. If capturing or freezing motion is the priority, I’ll often adjust shutter speed second instead of aperture.

The Visual Toolbox - Book Review (Lesson 1 - 3)
I am doing book reviews to relaunch my love of photography after a long break and out of state move. The first book I have chosen to review is, “The Visual Toolbox – 60 Lessons for Stronger Photography” Written by: David DuChemin. You can find a copy here: https://www.amazon.com/Visual-Toolbox-Lessons-Stronger-Photographs/dp/013408506X Additionally mentioned is a podcast called: “Vision is Better Show” I reference Episode 36 – In this episode, David addresses questions about vision, craft, and gear. You can find it here: https://davidduchemin.com/2016/03/vision-is-better-episode-36/
LESSON 1: Consider Your Vision
My Take aways:
- Absorb inspiration, not identity. Let other artists guide you, but let your own vision define you.
- Growth comes through actions, creativity thrives in the imperfect and the unexpected, and the more you create the more you grow.
- Invest in experiences, not just equipment. True growth comes from the moment you capture, not the gear you carry.
- Mastery is not a destination but a journey – one shaped by time, dedication and discovery. There are no hidden secrets in photography, only the fundamentals that truly matter: study relentlessly, practice consistently, and trust in your greatest artistic assets – imagination, passion, patience, curiosity, receptivity and the courage to bend the So called “rules” of composition.
- Growth lies not in perfection, but in exploration.
- No two eyes see the world the same way, and every photograph is a reflection of an individual’s perspective. This uniqueness extends beyond the moment of capture – into the choices we make in editing or the decision to leave an image untouched. Your vision is yours alone; embrace it, shape it and let it speak through your art.
LESSON 2: Ask Better Questions
My Take aways:
- There is no single path to follow – only the one you carve for yourself. Your photographic journey is uniquely yours, shaped by your own vision, experiences and creative voice.
- Refine your creative vision by asking deeper, more intentional questions Break down your scene or subject, not just through the lens, but through thought. What story are you telling? What emotion are you conveying?
- Consider the technical aspects—what is the light doing, and how can you shape it? How would different lenses transform the scene? Analyze the lines, framing, and depth. Observe the elements within the composition—do they create a sense of rhythm and flow?
- Thoughtful questions lead to intentional images, and intentional images lead to powerful storytelling.
LESSON 3: Manual
My Take aways:
- Familiarize yourself with your camera, read the manual, explore its capabilities and become a master of its functions. The more you understand its potential, the more freely you can create.
Q1 - What does “vision” mean to you in photography?
After listening to Vision Is Better Show: episode 36, my impression is that A photographer’s voice is the distinct artistic interpretation and personal perception infused into every image. It is found in the choices made - what is captured, how it is framed, and how it is refined in post-processing - all seen through the lens of the photographer’s authentic vision. Over time, as their body of work expands, each image becomes a breadcrumb, subtly marking the path of their evolving style and perspective.
At the heart of this process lies vision and intent - the why behind the photograph. Why did you choose to capture this moment in this way? What are you aiming to express? How will you translate that vision into the final image? Photography is more than a visual record; it is a language of emotion. A powerful image doesn’t just show what something looks like—it conveys how it feels. Through composition, light, and creative choices, you are not merely documenting a scene, but inviting others to experience its essence
Q2 - How do you balance technical knowledge with creative expression?
I embrace playfulness in my photography, allowing creativity to guide me rather than being confined by the conventional rules of lighting, exposure, composition, or gear. I experiment freely - sometimes it works beautifully, and most of the time, it's a lesson learned.
I don’t wait for the perfect light, the ideal scene, or the ‘right’ moment - I simply create when inspiration strikes. I never force myself to shoot; instead, I wait for the creative spark (even if it’s a year or more :P), that undeniable urge to capture something meaningful. I photograph what I love, what moves me, and what compels me to frame, expose, and press the shutter.
This same spirit of exploration extends into my editing process. I find just as much joy in experimenting, making mistakes, and discovering new creative possibilities in Photoshop as I do behind the camera. For me, photography is not just about capturing - it’s about playing, learning, and evolving through every step of the process.
Q3 - Do you know the limits/possibilities of your gear?
I know my favorite lenses intimately and push them to their limits—does that count? 😊 This is something I’m continually learning, especially since I’ve accumulated quite a collection over the years. But I refuse to carry them all with me. Instead, I choose one or two lenses based on the situation and challenge myself to work with what I have in the moment.
That said, there are a few lenses I rarely reach for, and I know I need to push myself to use them more, to truly explore their potential. There have been plenty of times when I’ve thought, “I wish I had brought (usually the really large heavy zoom) lens for this,” but I never let that stop me. I make the most of what’s in my hands, finding a way to capture the shot regardless
My photographs -
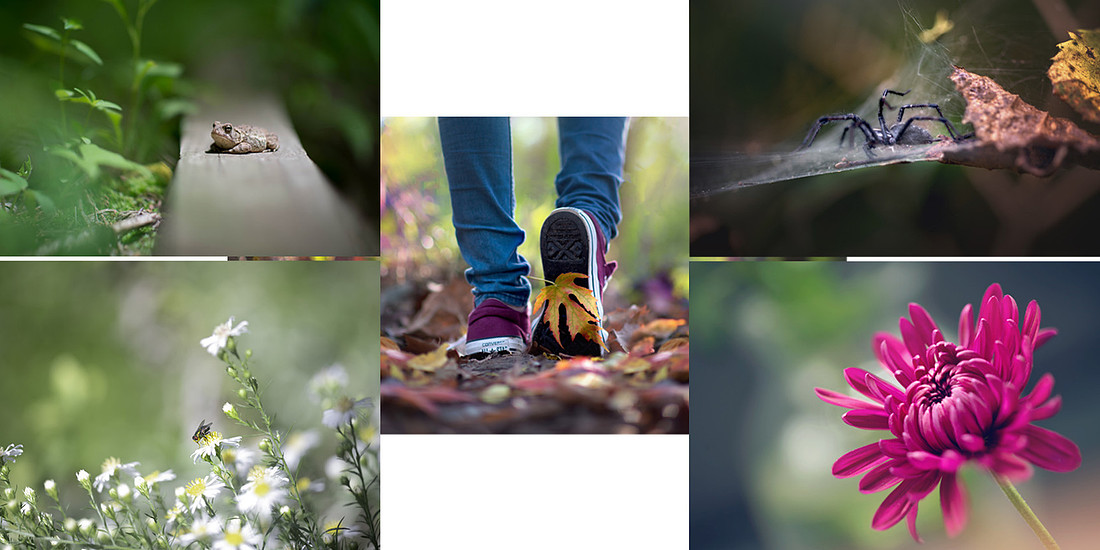
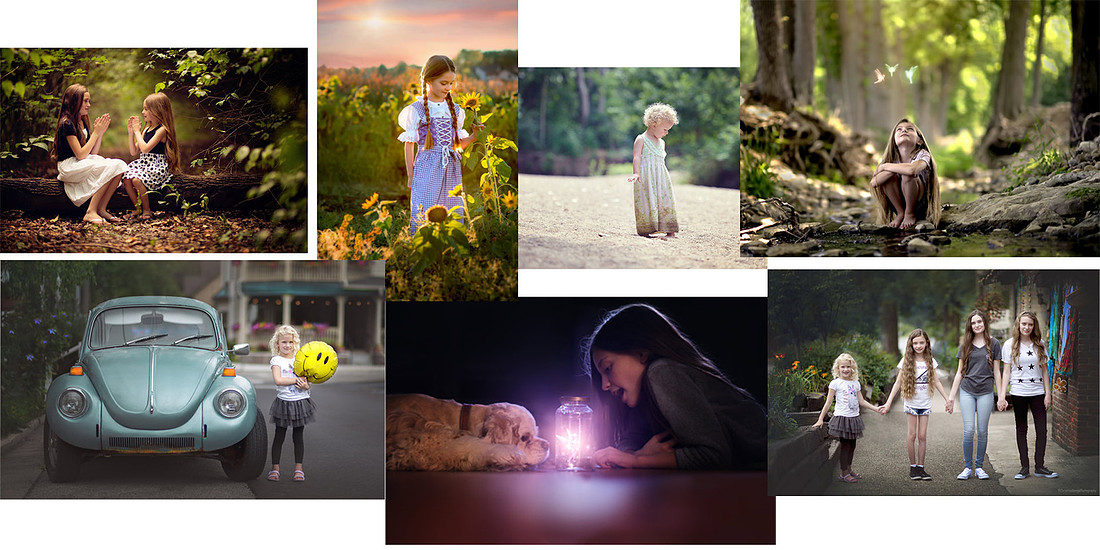
If I had to categorize my work, two genres immediately come to mind—children and nature. Yet, across both, I’ve realized a common thread in my approach: I instinctively isolate my subjects, drawn to the softness of bokeh and the way a blurred background allows the story to unfold around them. I tend to shoot wide, embracing the full scene rather than just a portrait, and I often capture my subjects from eye level or below, subtly making them feel larger, more significant within their space.
Most of my images are filled with color, emotion, and a quiet sense of storytelling—even in my nature photography. While I know the narratives behind each image, I’ve always been curious about how others interpret them. Do they see what I see? Do they feel what I feel? Not that it would ever change the way I connect with my work, but I find the dialogue between artist and viewer fascinating. If you've taken the time to look through my images, I’d love to hear what stands out to you.
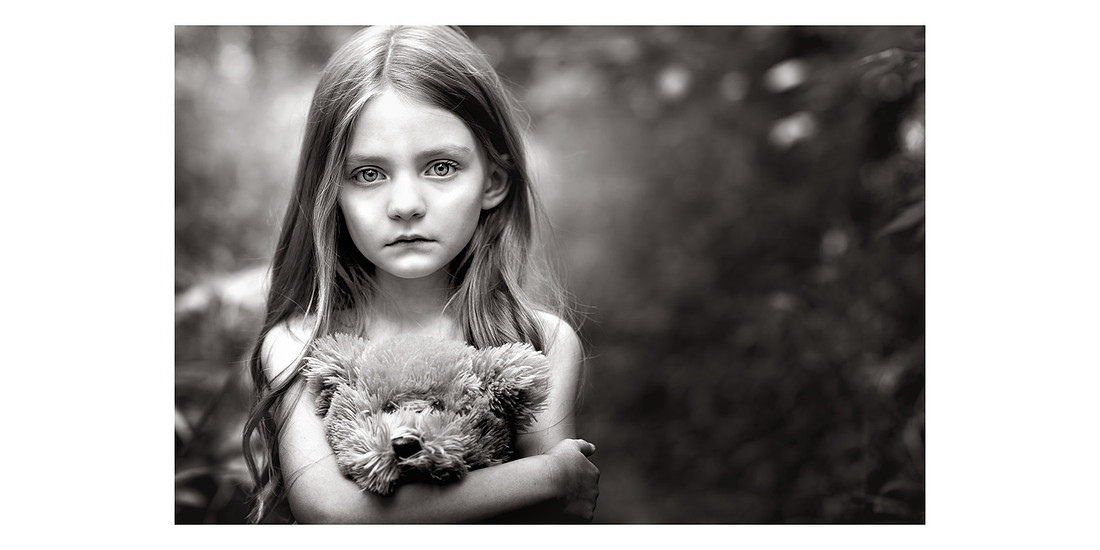
One image, in particular, holds a special place in my heart. It’s different from the rest, and maybe that’s why I treasure it most. Interestingly, whenever I’ve shared it, the feedback I receive is often heavy - people interpret it as sorrowful, evoking themes of abandonment or sadness. But for me, and for her, it’s something entirely different.
The girl in the image is my daughter. She appears in several of my photographs, but this one is unlike any other I’ve taken. That day, we were out capturing her with her favorite teddy bear when she accidentally slipped in the mud, staining the bottom of her dress. Being the girly girl she was, she was livid. I reassured her, saying, ‘Look, if I frame it this way, no one will even see the dirt!’ The moment she saw that on the back of my camera, she immediately perked up. But when I looked at the image later, something about it struck me - it wasn’t just the moment, but the rawness of it, the depth of expression I hadn’t consciously set out to capture.
I’ve never been one to force my camera on my children in moments that feel too vulnerable. I believe there are times to put the camera down - to hug, to talk, to simply be. This remains the only image I’ve ever taken where one of my children appeared upset, and that, in itself, makes it unique to me.
Ironically, she was always my child with big emotions - her feelings were grand, her reactions legendary. Even today, we laugh about her childhood dramas, like the morning she was inconsolable over the uncomfortable lining of her socks before school. It became a family joke - whenever one of us is being overly dramatic, we ask, ‘Is it the sock lining? Did you get your dress dirty? Should I grab the camera?’ Without fail, it makes us laugh and lightens the mood.
Even though it’s one of my most treasured images, I sometimes hesitate to share it, worried about how it might be perceived. It’s not a ‘typical’ portrait; it doesn’t fit into the standard mold. But that’s precisely why I love it. It’s real, it’s raw, and it’s ours. And as David Duchemin teaches, the most powerful images aren’t the ones that show what something looks like - but what it feels like.